
The SendPulse modules allow you to add, retrieve, and search contacts or list, retrieve, and send emails in your SendPulse account.
Getting Started with SendPulse
Prerequisites
A SendPulse account
In order to use SendPulse with Boost.space Integrator, it is necessary to have a SendPulse account. If you do not have one, you can create a SendPulse account at sendpulse.com/register.
The module dialog fields that are displayed in bold (in the Boost.space Integrator scenario, not in this documentation article) are mandatory!
Connecting SendPulse to Boost.space Integrator
To connect your SendPulse account to Boost.space Integrator you need to enable the REST API first.
Log in to your SendPulse account.

Click on your profile icon in the top-right corner and select the Account settings option.
Click on the API tab, turn the Activate Rest API button on, and click the Save button.
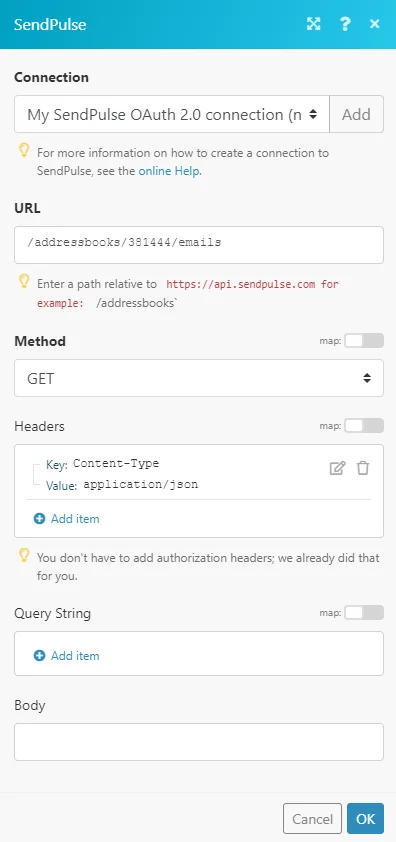
Go to Boost.space Integrator and open the SendPulse module’s Create a connection dialog.
After you click the Continue button, Boost.space Integrator will redirect you to the SendPulse website.
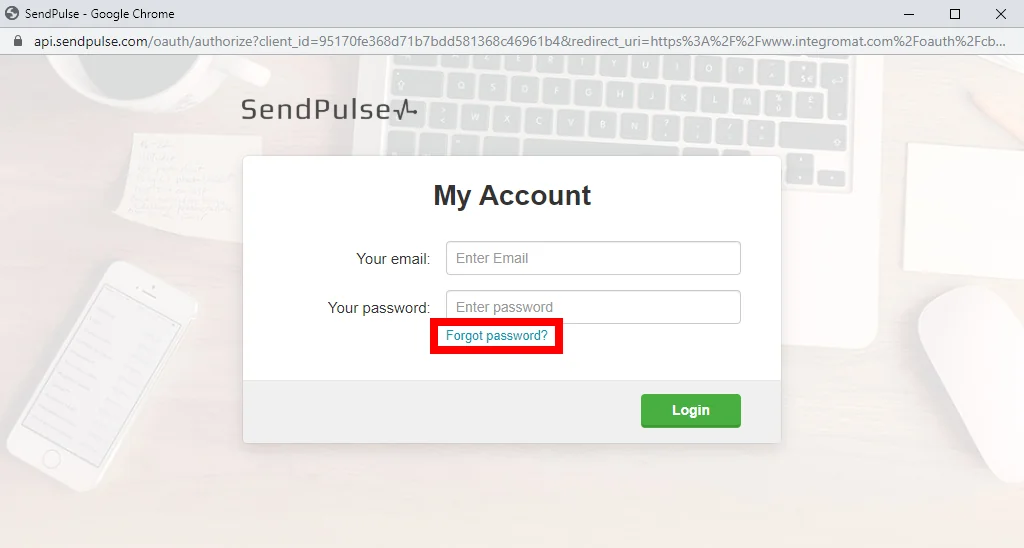
Enter your credentials and click the Login button to establish the connection.n
If you do not have a password (if you have signed up using Google or Facebook) you must create one by clicking the Forgot password? link.
Enter the day you want to get information about in the YYYY-MM-DD format. E.g. 2019-10-18 14:34:00. You can get bounces only for the last 24 hours starting from this moment. Example: today is – 2019-04-28 14:34:00, you will get entries from 2019-04-27 14:34:00 till 2019-04-28 14:34:00
Limit
Set the maximum number of bounces Boost.space Integrator will return during one execution cycle
Push
List Website Subscriptions
Retrieves a list of web push subscribers for a certain website.
Enter (map) the ID of the website you want to create a push campaign for.
Body
Enter the content for the push notification.
Ttl
“time to live”. Enter the push notification lifetime in seconds.
Link
Enter the web push navigation link; if it’s not specified, the website URL will be used.
Lang
Enter the language code to filter subscribers by language. E.g. en.
Browser
Enter the browser name to filter subscribers by the browser; this parameter can take multiple values separated by commas (e.g. – Chrome, Safari)
Region
Enter the country code to filter subscribers by the country. E.g. UK.
URL
Subscription from
Use “YYYY-MM-DD” format to specify the start date of the interval to filter subscribers by the date they were added to the list.
Subscription to
Use “YYYY-MM-DD” format to specify the end date of the interval to filter subscribers by the date they were added to the list.
Filter
Add up to 10 filters for 1 campaign.
Stretch time
Enter the timespan (in seconds) during which the campaign must be completed. If not specified, the default time (5 hours) applies.
Send date
Enter the date in YYYY-MM-DD hh:mm
to schedule a campaign for a specific date and time. E.g. 2020-09-11 16:19:10.
Buttons
Insert buttons in the campaign, maximum two buttons.
Image
Enter the name and data of the image that is inserted into the web-push notification. It can be mapped from the previous module (e.g. Dropbox > Get a file). The image must be in JPG, PNG, GIF format and within 200KB.
Icon
Enter the name and data of the image that is inserted into the web-push notification. It can be mapped from the previous module (e.g. Dropbox > Get a file). The image must be in JPG, PNG, GIF format and within 200KB.